 |
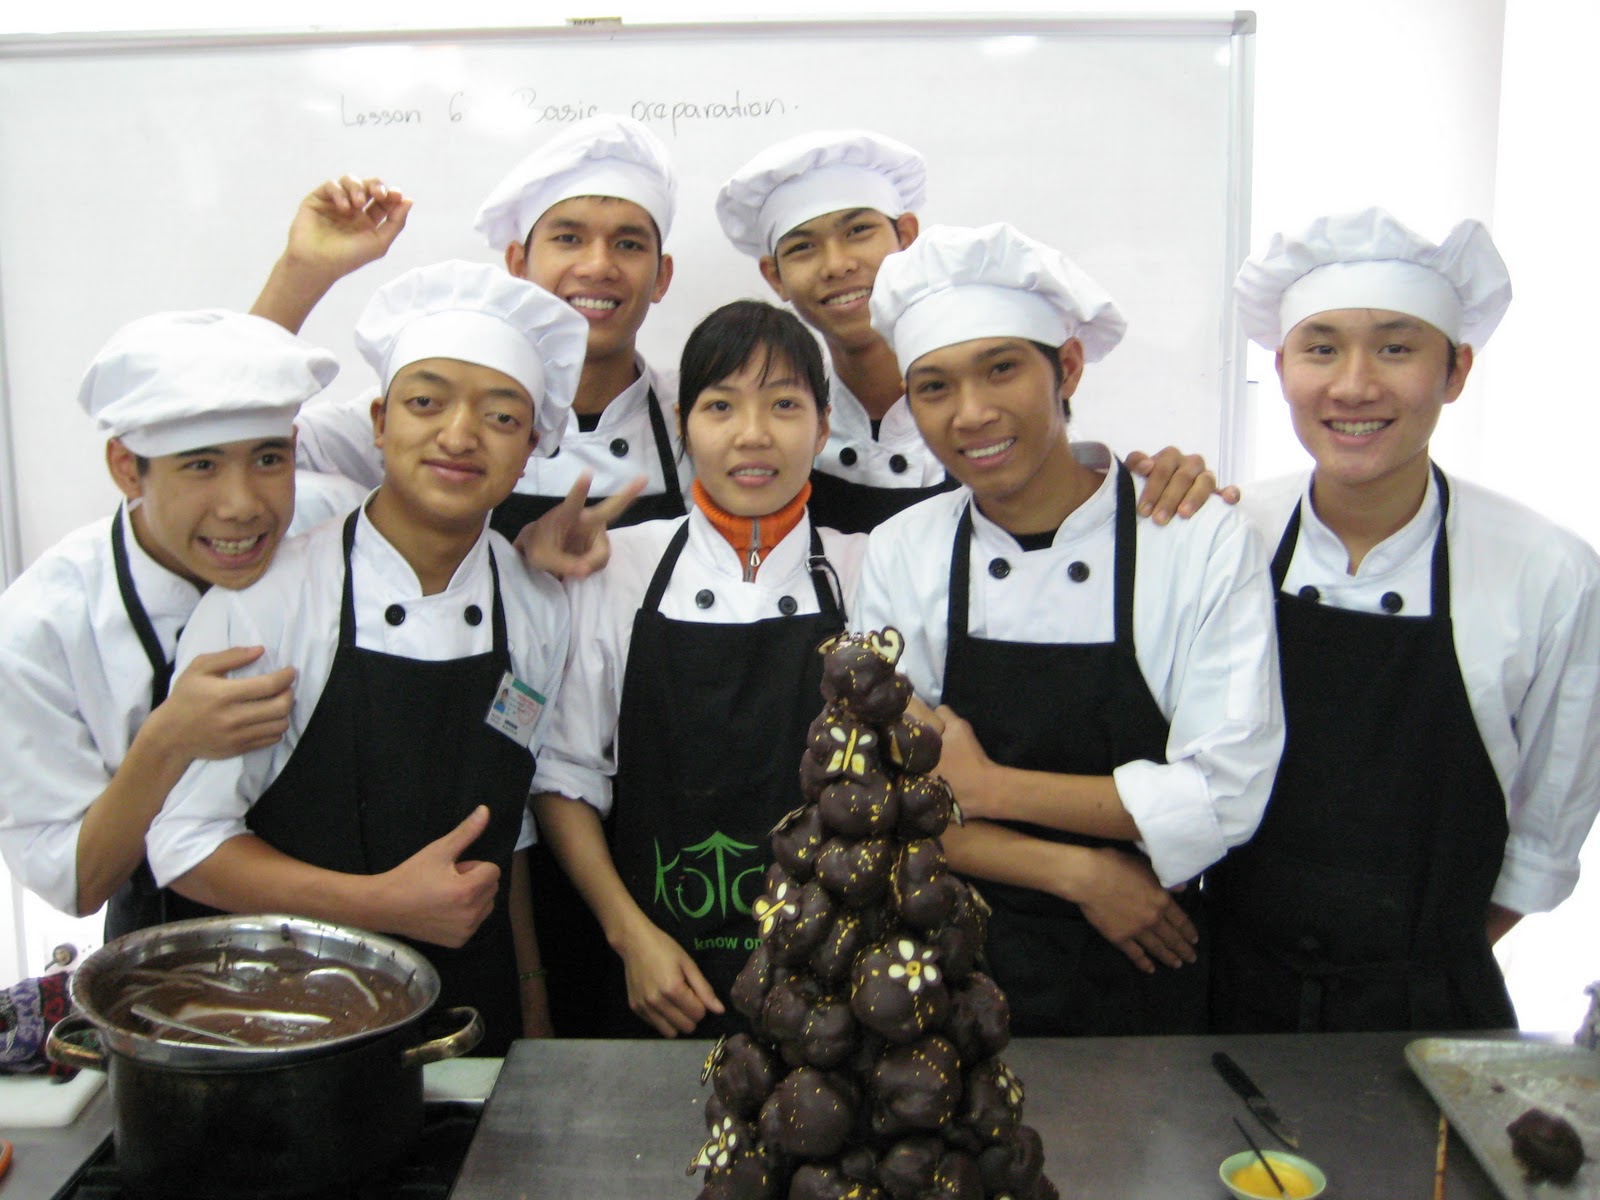
| Ms Thu (one of the pastry chefs) and some of the trainees of class 18 who enjoyed my session |
These photos came from an advanced class I gave for staff and trainees...apart from a bit in the middle of the process where I forgot to take photos (doh!) it's pretty self explanatory. When constructing any croquembouche you will need to make your puffs first. I made mine on the previous Wednesday when I was teaching about choux pastry in general. As long as they are pierced to release the steam and properly cooked they should stay crisp, you can also freeze the empty puffs. (Defrost then refresh in the oven for 10mins or so before use) I try to make more than I need and in varying sizes so that as the cone gets narrower the puffs get smaller. It just looks neater that way.
 |
| Create a cardboard cone, secure it with staples to where you can reach... |
 |
| Use a nice wide sticky tape to secure all edges |
 |
| attache a length of string to the top of the cone...make sure it moves freely |
 |
| use the pen to mark a straight(ish) line at the bottom of the cone |
 |
| make cuts up into the card as you would if you were lining a cake tin |
 |
| press down to flatten base, try to center the cone on the board you wish to use |
 |
| if your board is soft you can staple first but always cover staples with tape...this board is hard so I just used short lengths of sticky tape |
 |
| invert the cone over the melted chocolate and begin painting |
 |
| finally paint over the tape at the base of the cone - I prefer a silicone brush because it never leaves hairs and is easier to clean |
 |
| the finished cone looks like a chocolate witches hat |
 |
| you should have already made a small hole in the base of the puffs when they first came out of the oven to release the steam |
 |
| if you're careful you can use that small hole to hold the puff while you dip it |
 |
| lay them well apart so that they can dry - dipping before filling avoids the problem that occurs from time to time - of the filling squeezing out of tiny holes in the choux |
|
|
|
|
Now here we have a problem, because I was teaching and concentrating on what I was doing I forgot to take photos...first you need to fill the chocolated puffs. I used coffee pastry cream, chocolate pastry cream and whipped cream with vanilla (but you could simply use cream with booze in it...Kahlua, Brandy or Baileys would be nice) Once filled then you need to stick the puffs to the cone. You must only apply one level (or ring) of puffs at a time. Any more and the weight of the higher puffs can and will pull the whole lot down. Place one layer of puffs round (by dipping the unchocolated side in the melted chocolate then sticking that to the cone. Keep your fingers very clean, if you get any melted chocolate on them wipe it off immediately or you will end up with ugly fingerprints all over your puffs. Once you have a layer you can wrap a loose sheet of cling film round them to provide security then put it in a chiller to set. Once it is set you can do the next layer, chill, repeat and so on and so forth. Don't try to rush it at this stage or the whole shebang could topple all over the place...trust me it's happened to me and it's not fun!
 |
| keep the smaller puffs for the top of the croque and a nice round one for the very pinnacle |
 |
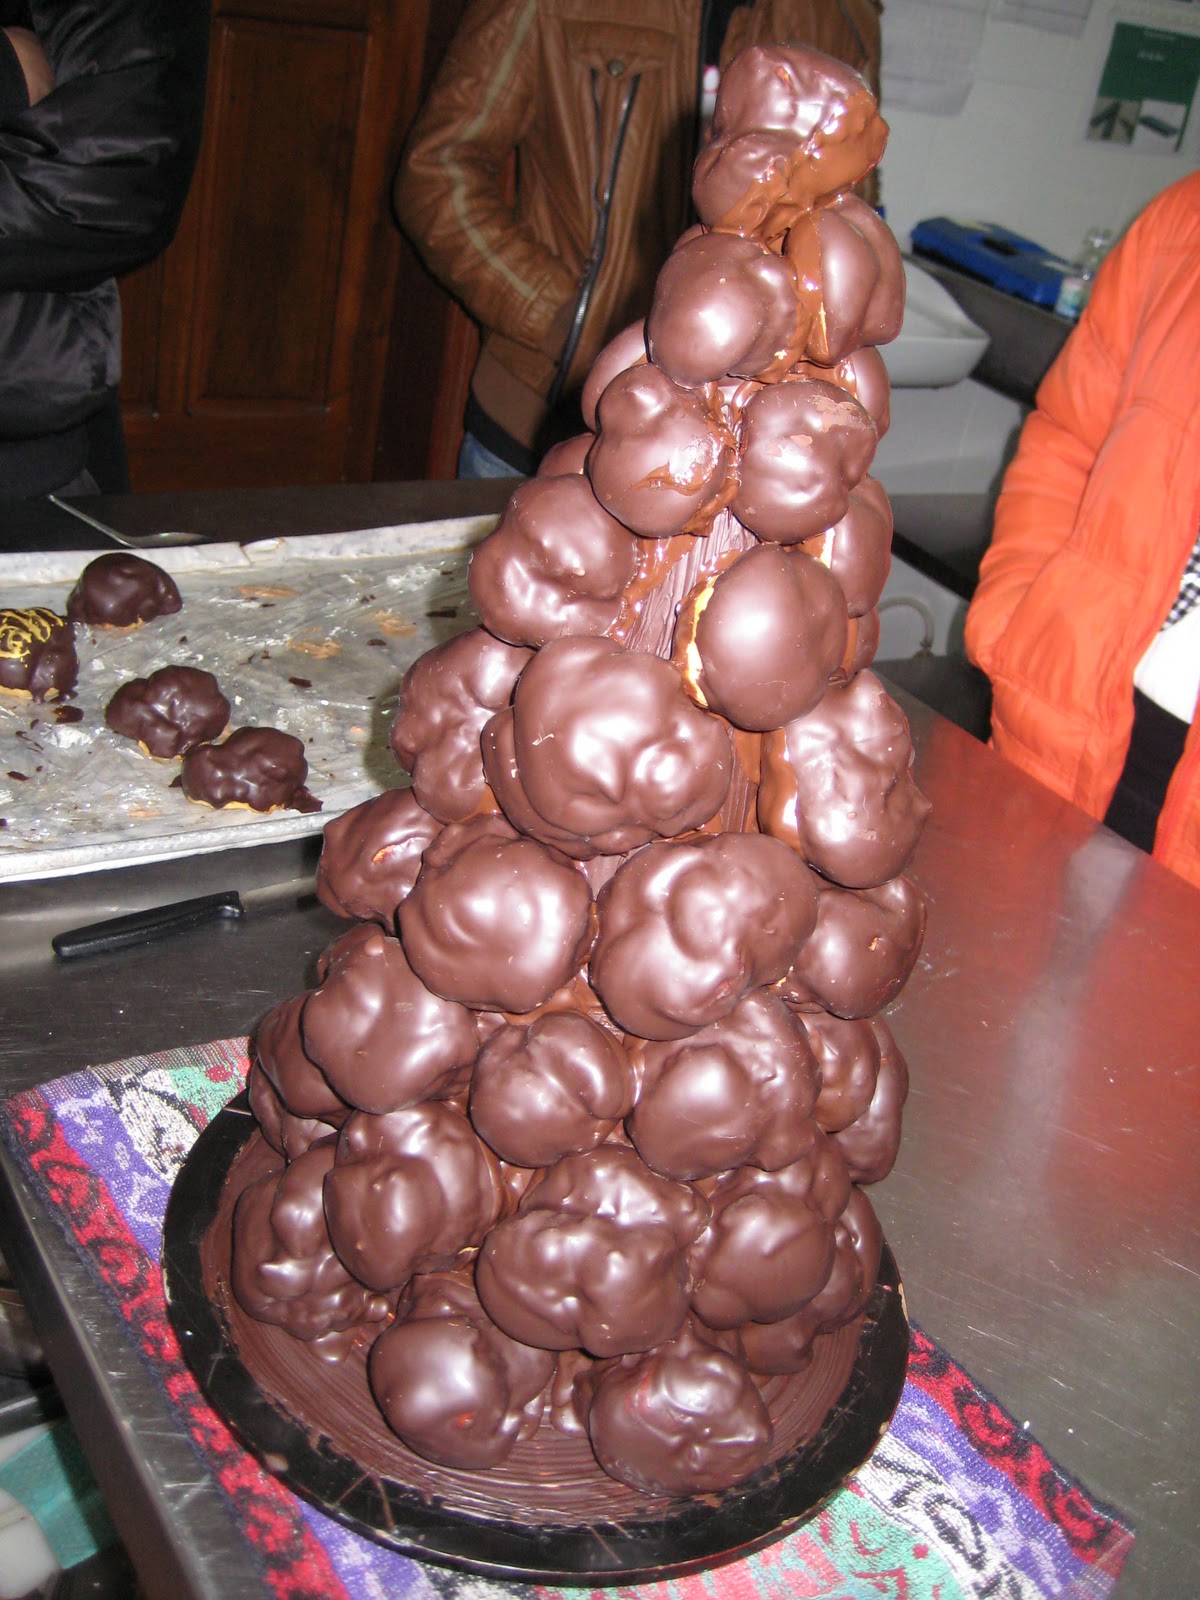
| the finished croquembouche...now for decorations |
 |
| everyone stood back while I spattered the croque with gold food colour |
 |
| I love doing this, the spatters look like little gold stars |
 |
| I had to make some chocolate run-outs because the strawberries I asked for weren't ordered... |
 |
| you should use a piping bag to secure the run-outs but we were running out of time...sorry... |
 |
| the run-outs were white and dark chocolate with a little gold food colour |
 |
| the finished croqembouche...it was sent to the restaurant to be eaten at the Friday night staff drinks... |
So that was my Friday...this evening I'm off to find some Jazz to groove to with my mate Rosemary...see ya...


No comments:
Post a Comment